Plan your rack
2.5-inch SSDs, 3.5-inch HDDs or four caddies: choosing rack storage
Compare three 10-inch 1U storage mounts: a dual 2.5-inch shelf, a dual 3.5-inch HDD shelf and a four-bay Dell-style caddy holder. Check hardware and cable access.
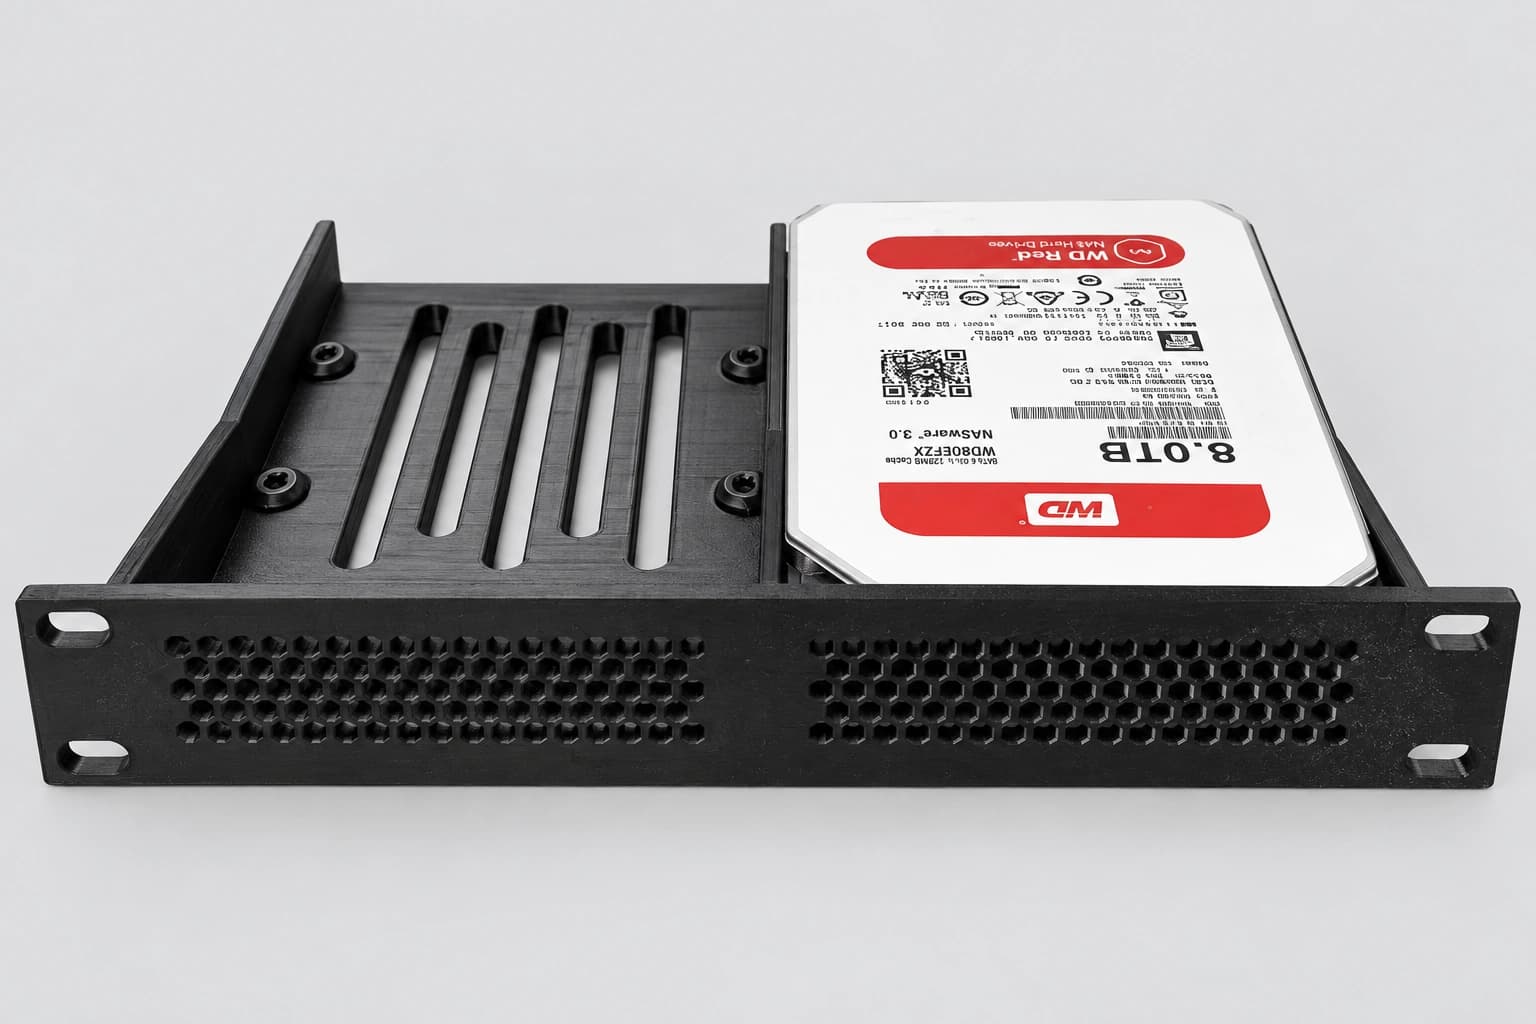
Choose around the drives you own.
For two bare 2.5-inch SATA drives, choose the dual 2.5-inch mount. For two bare 3.5-inch SATA HDDs, choose the larger HDD shelf. For up to four 2.5-inch drives already using compatible Dell-style caddies, choose the quad-caddy holder.
All three are mechanical mounts for 10-inch racks. They do not contain a storage controller, backplane, power supply or hot-swap electronics.
Compare the three formats.
| Mount | Drive or carrier | How it is secured | Printed size, W × D × H |
|---|---|---|---|
| Dual 2.5-inch | Two bare 2.5-inch SATA SSDs/HDDs | Four bottom M3 screws per drive | 254 × 100 × 43 mm; 1U |
| Dual 3.5-inch HDD | Two bare 3.5-inch SATA HDDs within the specified envelope | Four matching bottom screw positions per drive; #6-32 hardware | 254 × 148 × 43 mm; 1U |
| Quad Dell-style caddy | Four compatible 2.5-inch carriers in a two-by-two layout | Drive fastens to its caddy; caddy slides into the numbered bay | 254 × 131.5 × 44 mm; 1U |
These are printed mount dimensions. Connected plugs and cable bends need additional space behind the mount.
Two bare 2.5-inch drives: a compact, closed-front mount.
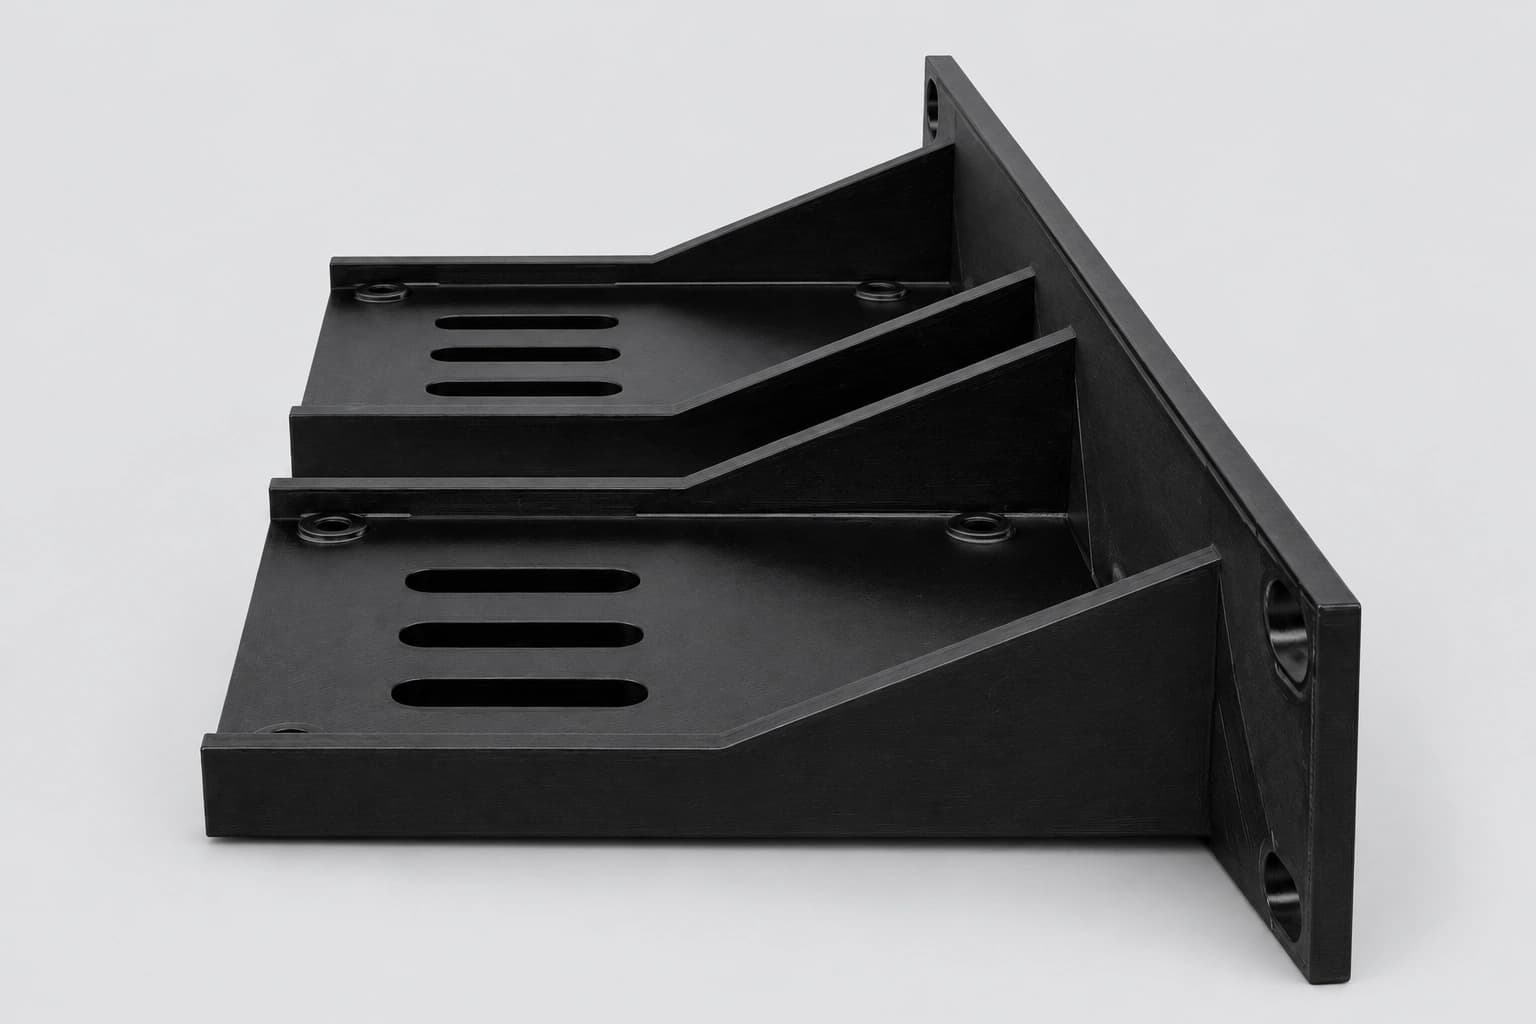
Dual 2.5-inch SSD / HDD mount
Two supported trays sit behind a solid front panel. Drives fasten from underneath, with their SATA connectors facing the open rear. Install the drives before attaching the assembly to the rack.
$27.99 mount only
See fit, options and purchase details →Check the drive’s bottom mounting pattern: 61.72 × 76.60 mm with M3 threads. Choose screw length for the complete printed grip and your drive manufacturer’s insertion limit. External USB enclosures, M.2 sticks and 3.5-inch drives are not substitutes for the specified bare 2.5-inch drive.
Two 3.5-inch HDDs: a ventilated shelf with bottom fastening.
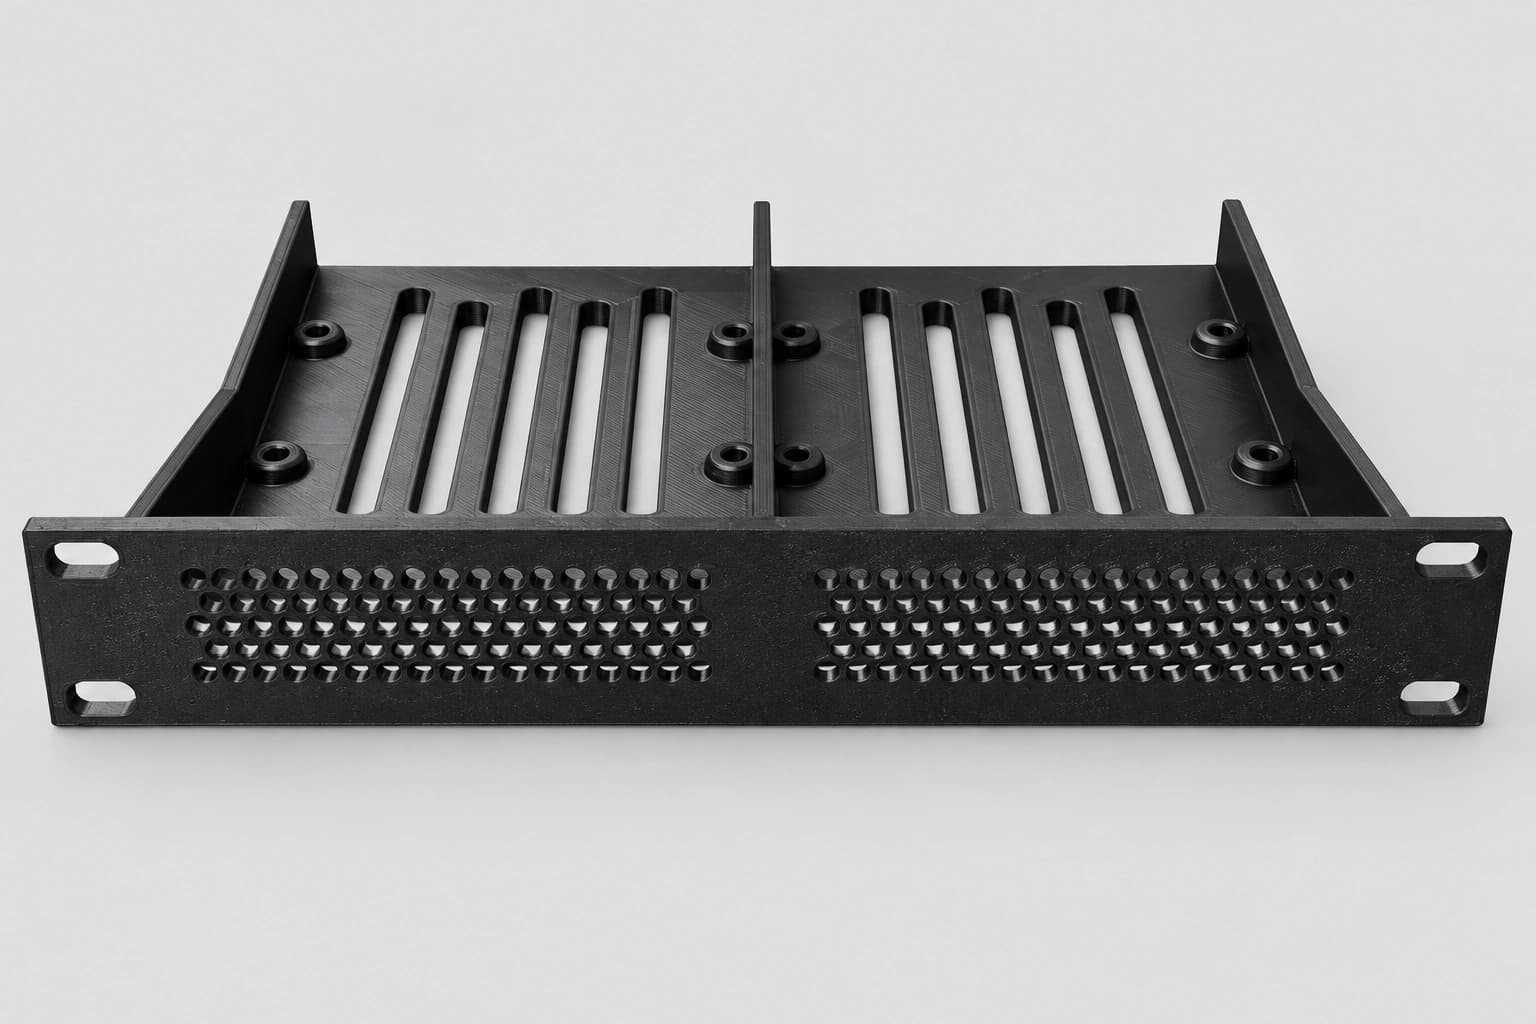
Dual 3.5-inch HDD shelf
The honeycomb front and slots beneath each drive leave ventilation openings around two supported drive positions. An open rear gives direct access to SATA data and power connectors.
$27.99 mount only
See fit, options and purchase details →The designed drive envelope is up to 101.85 × 147 × 26.11 mm per bay. Check both the envelope and bottom-hole pattern for your exact drive.
This shelf requires #6-32 UNC × 3/16-inch plain pan-head screws without added washers. Do not substitute 1/4-inch screws: they extend too far through this shelf. Follow your drive manufacturer’s insertion limit, confirm flat seating and tighten gently by hand.
Four 2.5-inch caddies: more positions, with manual cabling.
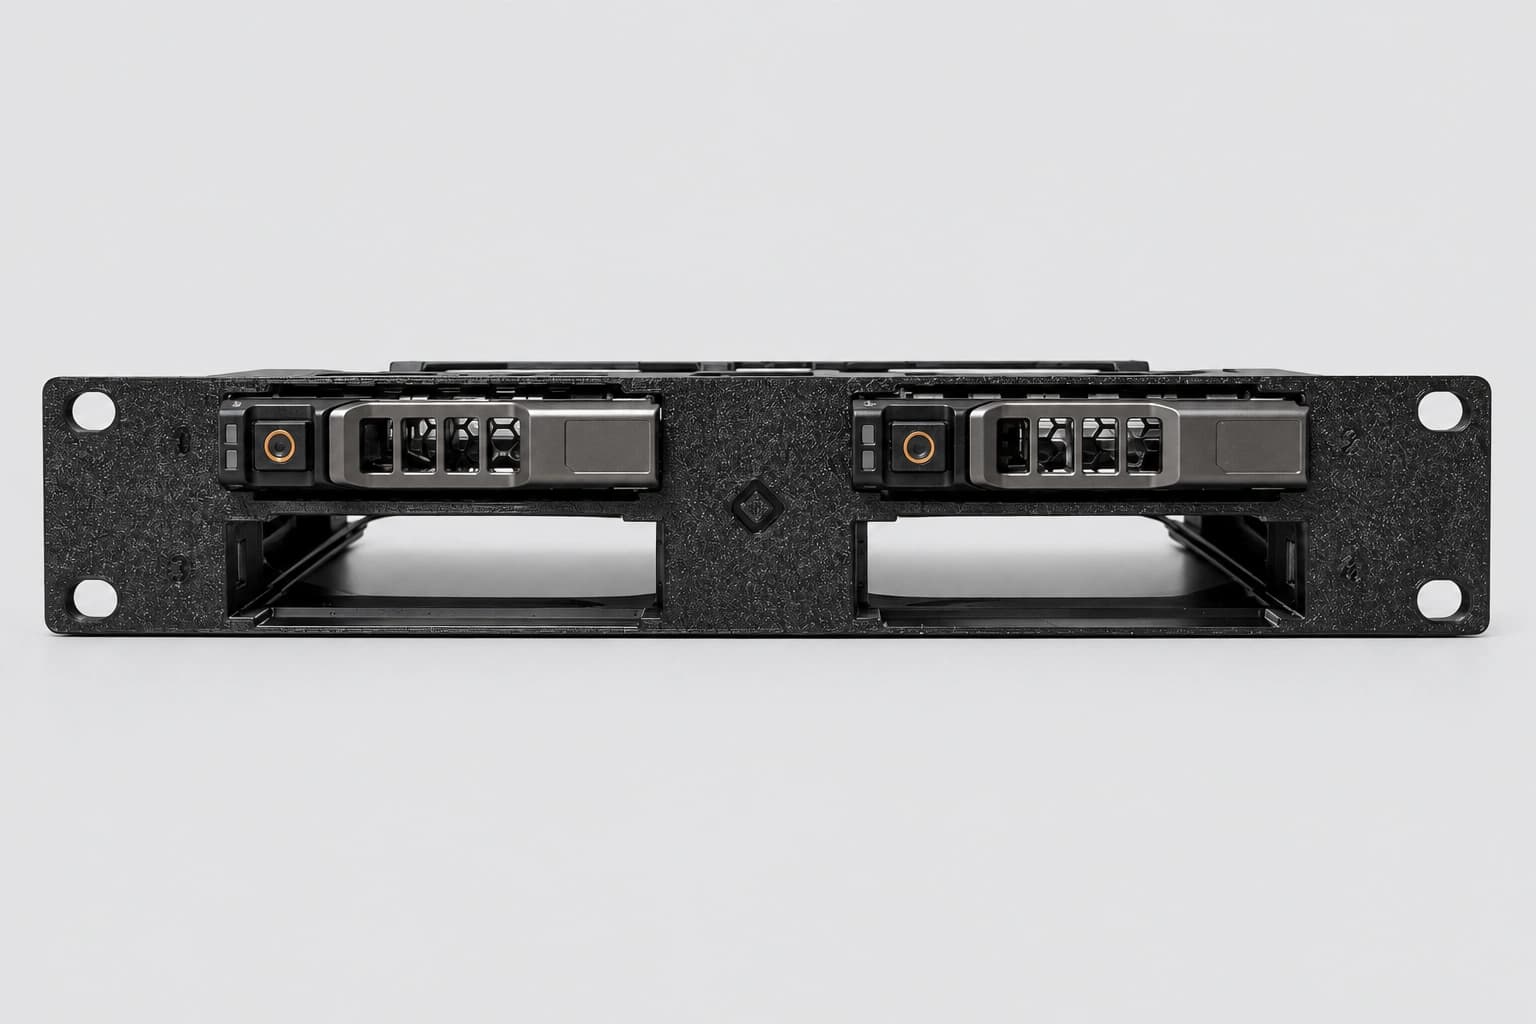
Quad 2.5-inch Dell-style caddy mount
Four numbered bays hold compatible carriers in two columns and two rows. The front handles remain accessible and the open back leaves space to connect cables directly to each drive. Caddies and drives are not included.
$29.99 mount only
See fit, options and purchase details →This holder works with 2.5-inch SAS SATA Server Tray Caddies for Dell PowerEdge R730, R630, T640 and T630 in the 08FKXC / 8FKXC style shown on the product page. It is not universal across Dell carrier generations, and bare drives cannot fasten directly to its rails.
The caddy handle is a mechanical retention mechanism. Closing it does not plug the drive into an electrical connector: this mount has no fixed connectors or backplane. Disconnect rear cables before removing a caddy. SAS/SATA describes the carrier style; the drive, controller and cables still need to be electrically compatible.
Leave room for service and cooling.
- Use all four rack mounting positions and check space around adjacent equipment.
- Keep ventilation clear and provide airflow appropriate for your drives; the printed vents are not a temperature guarantee.
- Support cable bundles separately so they do not pull on drive connectors or the printed shelf.
- Plan access to the underside screws on the dual shelves and the rear connectors on all three mounts.
- Mounts are supplied on their own. Drives, caddies, screws, cage nuts, cables and the equipment rack are excluded.
Product pages show current prices and link to Etsy for purchase. Check final shipping, tax and delivery details there.
Adding a computer or switch?
Use our mini PC and switch mount guide to check device generations, rack height, keystone options and JetKVM holders before completing your build.